
Docker makes it simple to create and manage isolated environments for each of your projects, ensuring that all dependencies are kept separate, and conflicts are avoided. The nice part is that installing Docker on your Mac is just as straightforward. Here, we’ll take you through the full steps that you can use to install Docker on a Mac, so you can start using this powerful tool to create and deploy your applications.
What Is Docker Desktop?
Docker Desktop is a program you may install on your computer to make it easier to use Docker, a technique for running software in containers. First, let us break down containers for you if you need clarification on what they are. Containers are a method of packaging software that may run reliably on any computer, independent of operating systems or dependencies. Containers include all the dependencies and OS functionality needed to run a program. While it’s quite similar to the notion underlying virtual machines, containers are more lightweight and efficient. Installing Docker Desktop allows you to create and manage these containers on your computer. This can be beneficial for a variety of purposes, including.
Developing Software – You may use Docker to create isolated development environments for your projects to verify that your code will run the same manner on your computer as on other computers or in production.
Running Servers – Docker may run servers on your computer, such as web servers or databases. This may be used to test, create, or run tiny personal projects.
Automating Deployments – Docker may deliver your software to multiple environments, such as test, staging, or production.
In summary, Docker Desktop is a powerful tool for developers and system administrators that allows them to systematically create, test, and deploy applications across several environments.
Install Docker On Mac System Requirements
You can install Docker for macOS on Intel and Apple silicon Macs. The prerequisites for each are shown below.
Mac With Intel Chip
macOS version 11 (Big Sur) or newer.
A minimum of 4GB of RAM.
The most recent test version of VirtualBox for your Mac.
Mac With Apple Silicon
Rosetta 2, although not needed with Docker Desktop 4.3.0 and later, is required to run certain optional command line tools.
To install Rosetta 2 from the command line, execute the following command in the Terminal.
softwareupdate --install-rosetta
How To Install Docker Desktop On macOS?
1 – Go to Docker’s website and download the most recent test version of Docker Desktop.
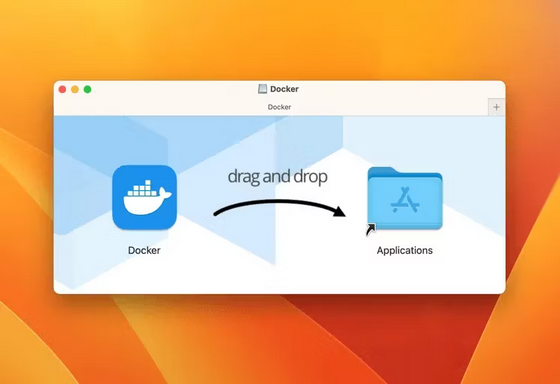
2 – Launch the downloaded file and drag the Docker.dmg file to your Applications folder.
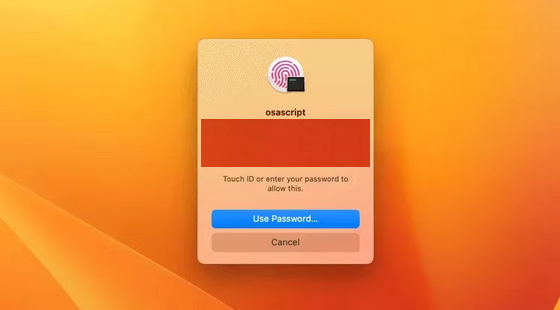
3 – From the Applications folder, launch the Docker app.
4 – When prompted, enter the password for your Mac.
5 – Docker will then set itself up automatically.
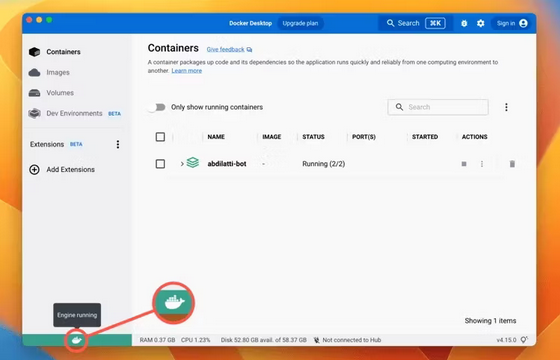
You may verify your installation by hovering your mouse over the Docker logo in the bottom-left corner of the window, where you should see a pop-up that says “Engine running.”
Verifying Docker Installation On Mac
After installing Docker Desktop, you should verify that it is operating properly. To achieve this, open the Terminal app on your Mac and run the following command.
sudo docker --versionThis command should return the version of the Docker you installed on your Mac. Similarly, execute the following commands to verify your installation composition and machine versions.
sudo docker-compose --versionsudo docker-machine --versionTo verify the installation, you may also run the following command.
sudo docker run hello-worldIf you encounter any errors or the command does not return any output, there may be a problem with your Docker installation.
Conclusion:
The official installer is the simplest method to install Docker on macOS, even though there are other options. If the official installer does not work, you may try installing Docker on your Mac through Homebrew. The nicest part of using Homebrew is that you can also install other apps on your Mac.