Set Custom Resolution In Windows 11: It’s difficult to dispute that Windows 11 provides many display resolution options. Changing the resolution to one of the presets is simple, but changing it to a non-preloaded setting is more difficult. There are several reasons why Windows may not provide you with the best resolution you want. If you find seeking the ideal resolution, you have two options. This post will teach you how to customize your display using the video adapter and third-party software.
Why Should You Change Your Resolution?
Gaming is one of the numerous reasons for employing a resolution outside the stated parameters. One of the most typical scenarios is when customers desire to play “retro” games in their original resolutions. Computer monitors, like other technology, have advanced significantly in the previous decade, and the resolutions for which many older games were intended are no longer supported. This is a task worth taking on for committed players looking for a true experience.
Another possible use is to get an application of what the future holds. For example, 4K monitors are available, but only some have access. You can get a rough idea of what those ultra-high resolutions look like. To be clear, no amount of software modification can improve the quality of your display, but you may experience what it’s like to have all that desktop space.
Finally, you could desire another resolution. More screen real estate, ease of reading, or simple preference are all acceptable reasons to experiment with a custom resolution. However, if you employ these ways to enjoy ultra-high resolutions, you may need to adjust your fonts and icons.
Change The Display Adapter Settings
The first method is to use your display adapter to acquire access to more resolutions. This is a straightforward procedure that requires only a few settings adjustments. There is no risk in using this approach because the resolutions it offers you access to are assured to be supported by your graphics card, so you should use it if it is appropriate for your needs.
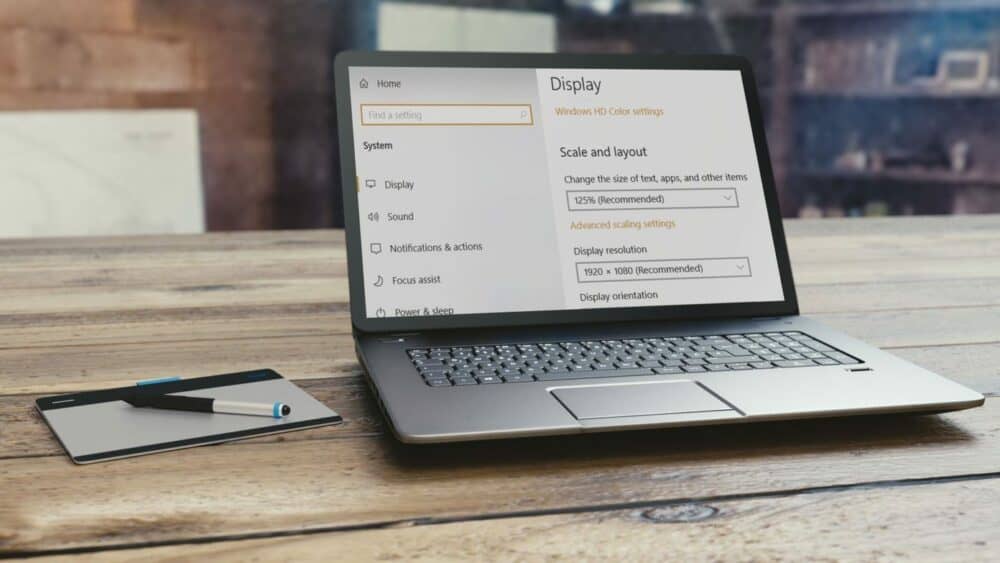
1 – Right-click on your desktop to show a menu, then pick Display Settings from that menu. You may also pick System from the Settings menu.
2 – Scroll down in the display settings box to find Advanced display settings.
3 – Once in the advanced settings, select the Display adapter properties for your monitor.
4 – In the properties, hit on the List All Modes option. This will display all of the resolutions your display adapter supports, which is probably many more than Windows 10. Please select the desired resolution and click Apply to switch to it.
This has the same effect as changing the resolution in the display settings. You will be prompted to either reverse or maintain the change when you activate the preferred resolution. This simple method will provide you with more options for your resolution. However, these preset, and you may wish to go even farther and select a resolution that you entirely specify. Again, third-party software will be required in this instance.
Custom Resolution Utility Provides Some Outside Assistance
If you still need to be more pleased, you may use an application to customize the resolution of your monitor. It is known as Custom Resolution Utility. A word of caution: the application does not support Intel display adapters and operates by editing your registry. It’s also a great idea to stick to resolutions regularly supported by your device.
The software is completely free and does not need installation. Start it after downloading it, and it will auto-detect your monitor. When you’ve chosen your display, click the Add button to have the ability to build a customized resolution. Next, launch the restart application from the zipped file you downloaded when you’re finished selecting. This will force your display adapter to restart and apply your resolution. To avoid difficulties, adhere to the fundamental aspect ratio requirements. If you wind up with a broken display, use the reset-all executable file included in the bundled package.
How To Easily Set Custom Resolution In Windows 10 With Intel Graphics?
If you use Intel graphics, you may quickly alter and customize your resolution using their built-in control panel.
1 – Choose Intel Graphics Settings from the context menu on your desktop.
2 – Return to the General Settings page and change the resolution drop-down menu to make it easy to display settings.
3 – Choose Custom Displays if you want a custom setting. You’ll be warned about the risk of overheating, so be sure you understand what you’re doing.
4 – Enter the resolution settings you want and click Add.
Set Custom Resolution In Windows Final Words:
Apart from coding your application or manually modifying the registry, these are the best options to apply a custom resolution in Windows 10. You can use an adapter to prevent potential difficulties but lose some customization, or the Custom Resolution Utility, which gives you complete control but may cause slight hitches in some settings, or you may use the features provided by Intel, AMD, and Nvidia. Customize your resolution to your heart’s content. Do you know of another technique to change the resolution on a Windows computer? What prompted you to customize your resolution in the first place? Please let us know in the comments section below.